
大人気オープンワールドゾンビサバイバルゲーム7 Days to Die。
10年を超える早期アクセス期間の開発を経て、2024年にいよいよ正式リリースされました。
そして2025年6月にメジャーバージョンアップとなるV2.0がリリースされています。
待望の正式リリースとなり、オンラインのマルチプレイにも対応している本作はユーザー数も増えコミュニティも大きな盛り上がりを見せています。
今回はそんな7Days to DieでSteamの機能を使って無料でマルチプレイを楽しむ方法について解説します。
レンタルサーバーと異なり、自分の自宅のPCをサーバーにしてフレンドを招待することで手軽にマルチプレイを実現することができます。
普段ソロプレイをしていてフレンドに手伝ってほしい場合や、7Days to Dieのマルチプレイがどんなものか試してみたい方にはおすすめですのでぜひ活用してみてください。
7Days to Die 自宅サーバーとレンタルサーバーの違いは?
7Days to Dieでマルチプレイをする方法として自宅の自分のPCをサーバーにする方法とレンタルサーバーを利用する方法の2つがあります。
- 自宅のPCをサーバーにする
- レンタルサーバーを利用する
これら2つの構築方法の違いについて詳しく解説します。
自分のPCをサーバーにする方法
『7Days to Die』では、自分のPCをサーバーとして設定し、友人を招待して一緒に遊ぶことができます。
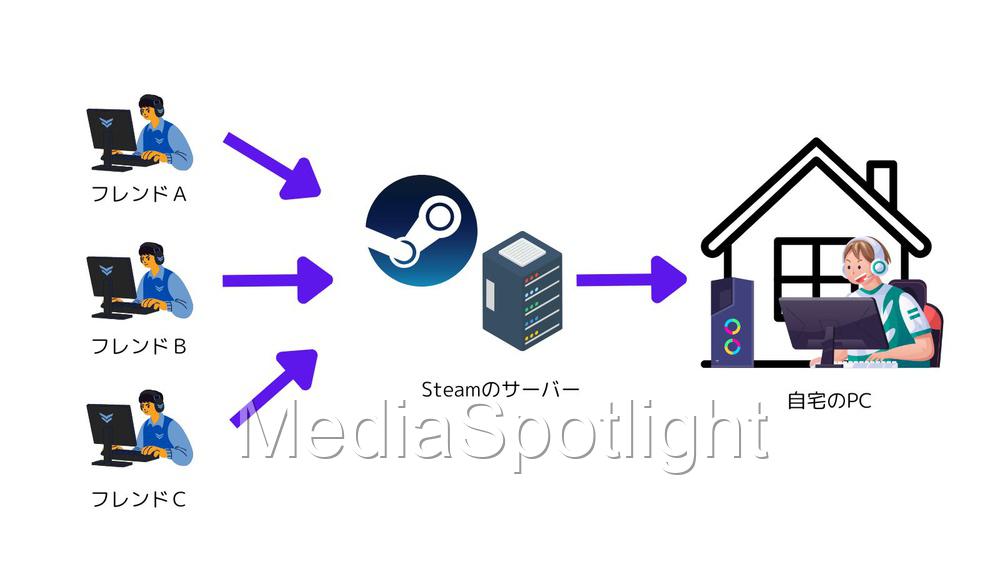
自分のPCをサーバーにする方法は比較的手軽で、ゲーム内の設定からサーバーを立ち上げ、Steamフレンドに招待を送るだけでマルチプレイが可能です。

Steam機能を利用したマルチプレイは無料で始められるのが良いよね
この方法の利点は、追加の費用がかからない点です。しかし、ホストのPC性能がゲームの動作に影響を及ぼすため、推奨スペックを満たすPCを使うことが望ましいです。
また、ホストがオンラインでないと他のプレイヤーは参加できない点も注意が必要です。

フレンドがログインしている間はPCずっと起動してたり、他のことに使えないのが不便・・・
レンタルサーバーを利用する方法
もう一つの方法は、専用のレンタルサーバーを借りて『7Days to Die』のサーバーとして利用する方法です。
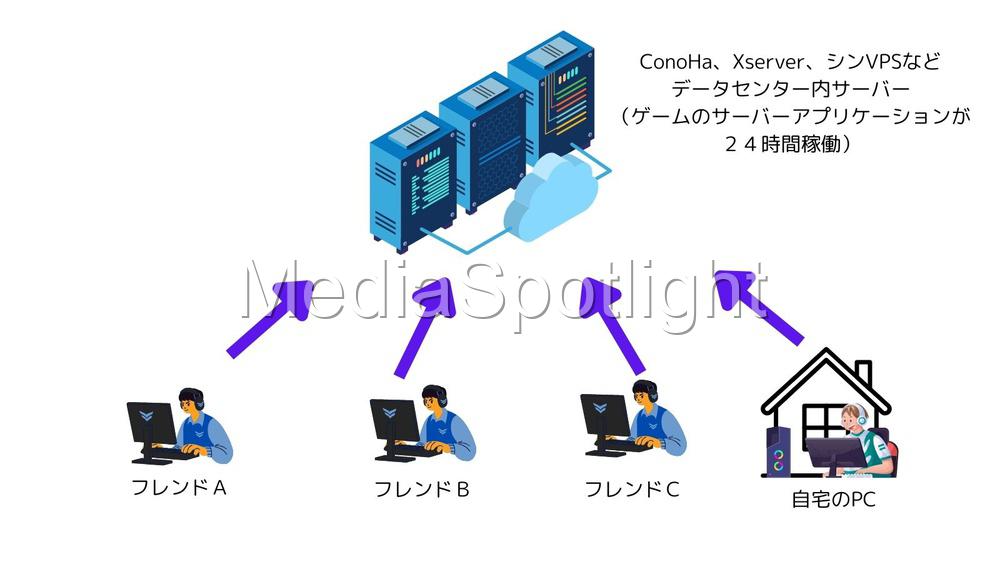
レンタルサーバーを使えば、ホストPCの性能やインターネット接続に影響されることなく、24時間稼働の安定したサーバー環境でプレイできます。

サーバーはずっと稼働してるからみんな好きな時にログインしてプレイできるのがうれしい
さらに、ホストがログアウトしても他のプレイヤーが自由に参加できるため、継続的なゲームプレイが可能です。
レンタルサーバーは手軽に設定できる上に、複数のサービスプロバイダーから提供されており、ゲームに最適化されたプランを選ぶこともできます。

少人数であれば月数百円から借りれるから、自宅PCの電気代とか考えたら意外とお得かも!
費用は発生しますが、大人数で長期間プレイする場合には、安定したプレイ環境を提供する手段として適しています。
Steam機能を利用して自分のPCをサーバーとしてマルチプレイする手順

ここからは実際にSteam機能を利用して自分のPCにフレンドを招待してマルチプレイを行う方法を解説します。
事前準備:Steamのフレンド登録
- ゲームをインストール: サーバーを立てるPCと、参加する側のPCどちらにもプレイしたいゲームをインストールします。
- フレンド登録: マルチプレイを行うには、参加者同士がSteamでフレンド登録をしている必要があります。まだの場合、以下の手順でフレンド登録を行ってください。
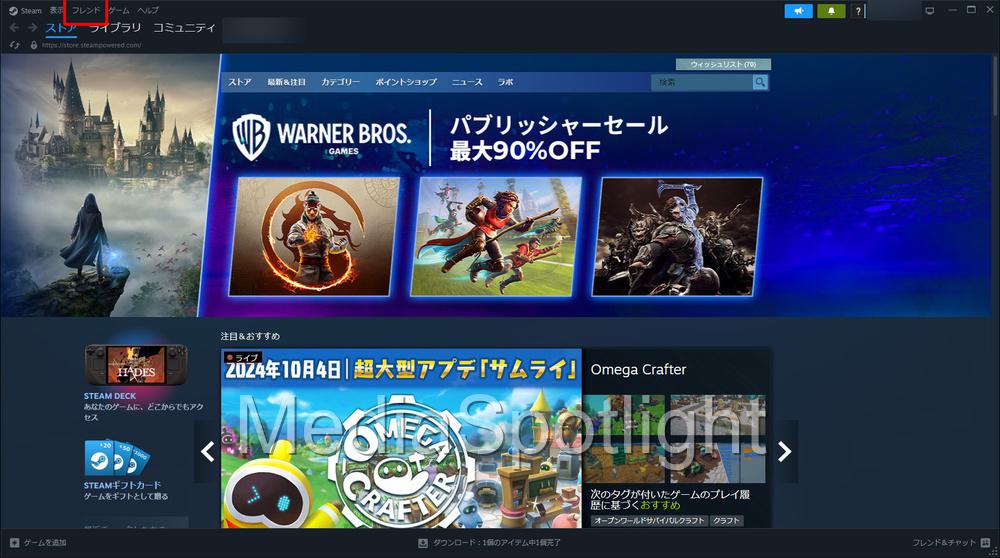
招待する側
Steamを起動したら画面左上メニューの「フレンド」をクリックします。
メニューの「フレンドを追加」をクリックします。
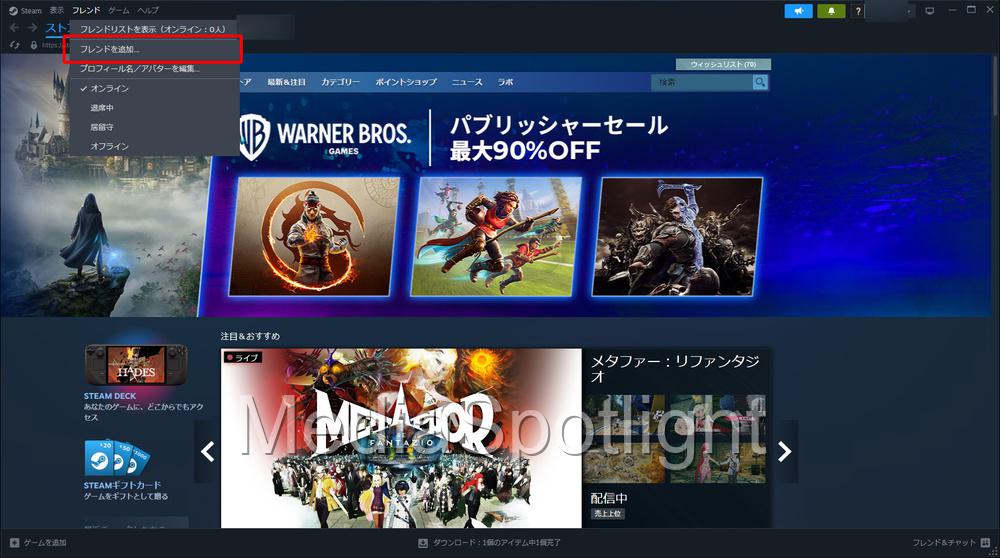
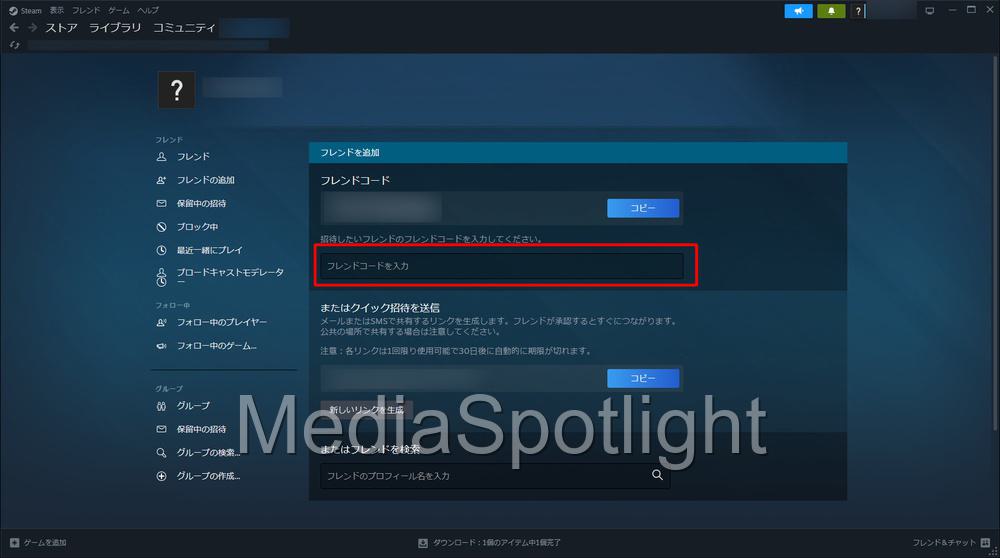
左のメニューから「フレンドの追加」をクリックし、「フレンドコードを入力」の欄に招待したいフレンドのコードを入力します。
招待したいフレンドのIDが表示されたら「招待を送信」をクリックします。
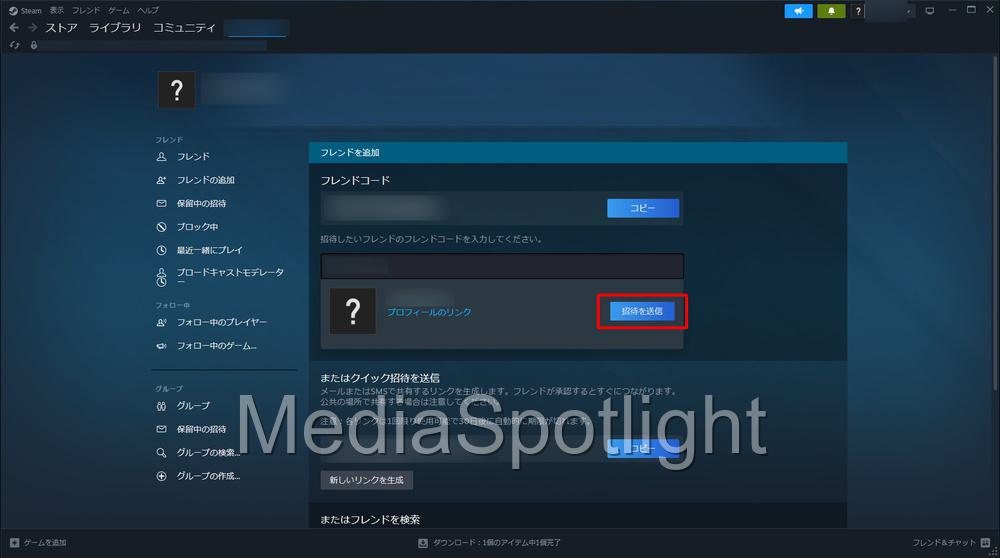
「○○への正体が送信されました!」と表示されたら完了です。

招待される側
招待される側の手順を解説します。
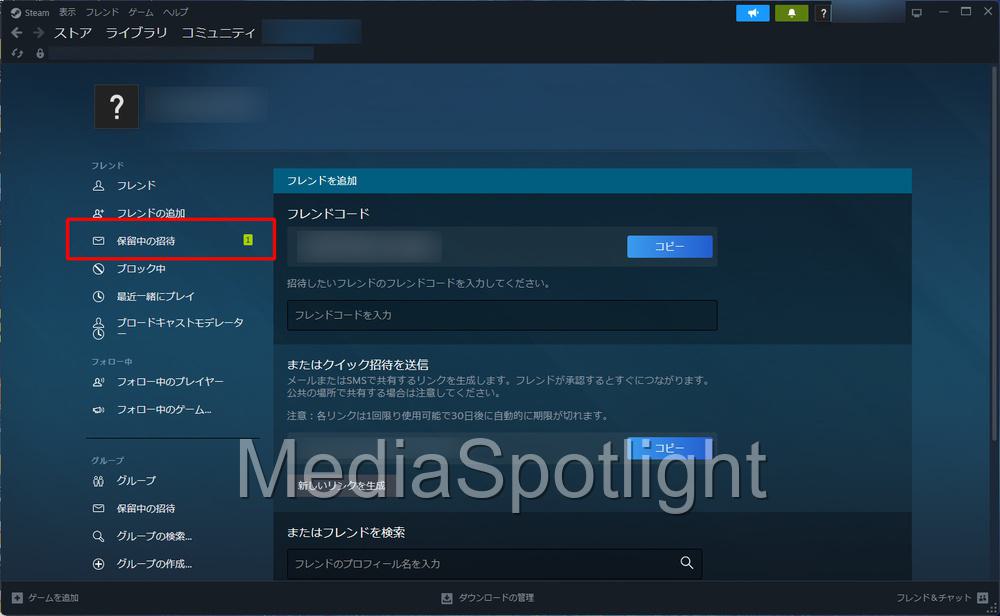
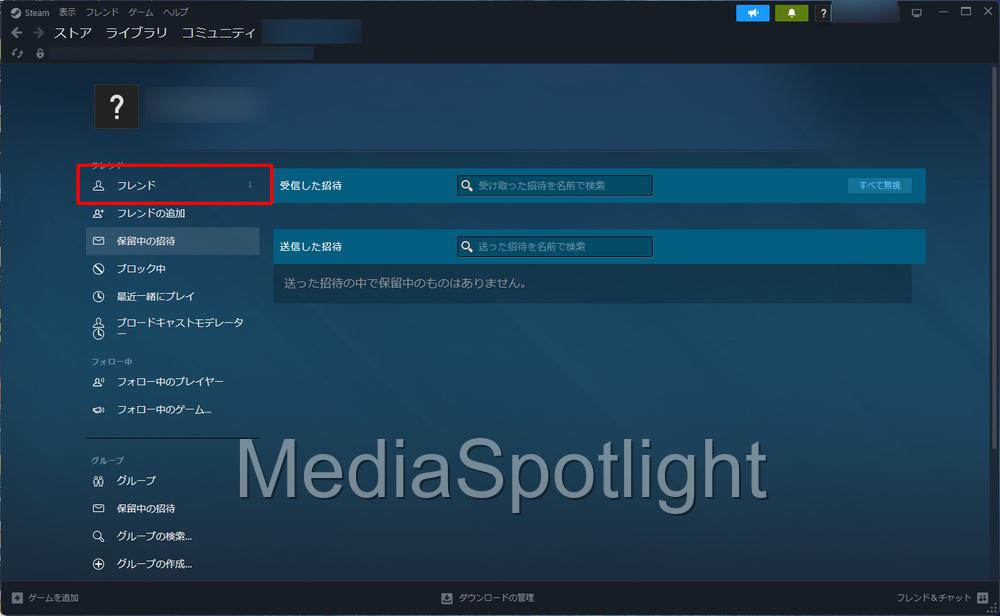
Steamのフレンド画面を開いたら、画面左のメニューの「保留中の招待」に通知が来ているのを確認したらクリックします。
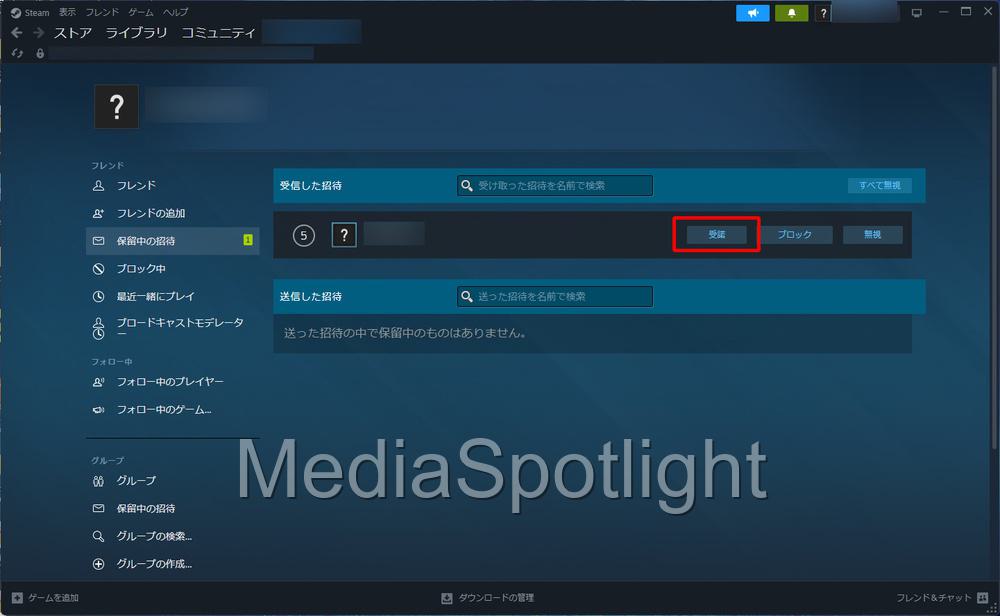
招待を送信してきたユーザーのユーザー名が表示されますので、間違いなければ「受諾」をクリックします。
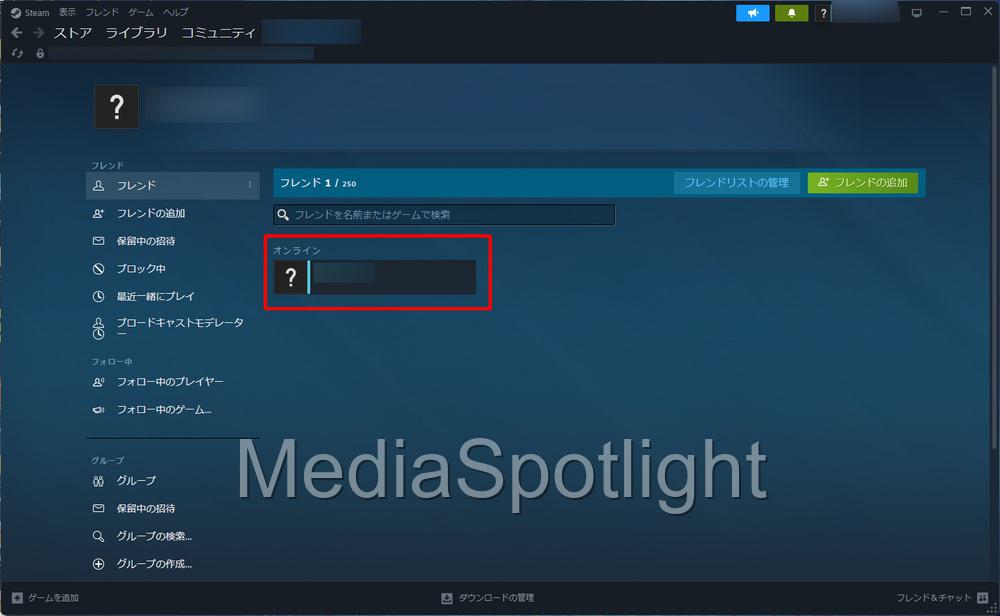
受諾が完了したら画面左メニューの「フレンド」を確認します。
招待してきたフレンド名が表示されていれ登録完了です。
自宅PCをサーバーにしてマルチプレイを行う手順
ここからは実際にフレンドを自分のPCに招待してマルチプレイを開始するための手順を開始します。
招待する側(サーバーを立てる側)の手順
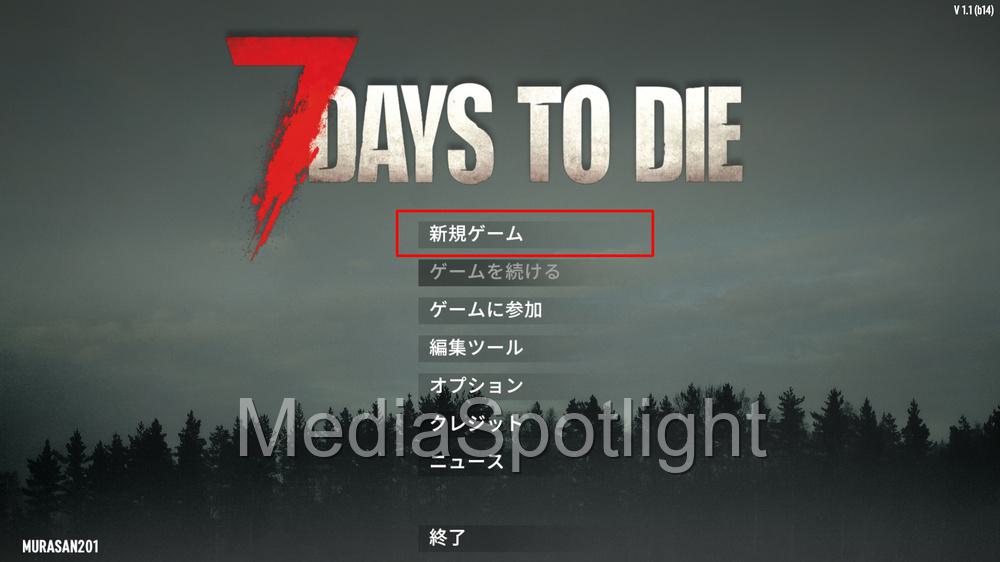
招待する側は通常通り7Days to Dieのゲームを起動します。
ゲームが起動したら「新規ゲーム」(既にゲームを始めているセーブデータがある場合は「ゲームを続ける」)を選択します。
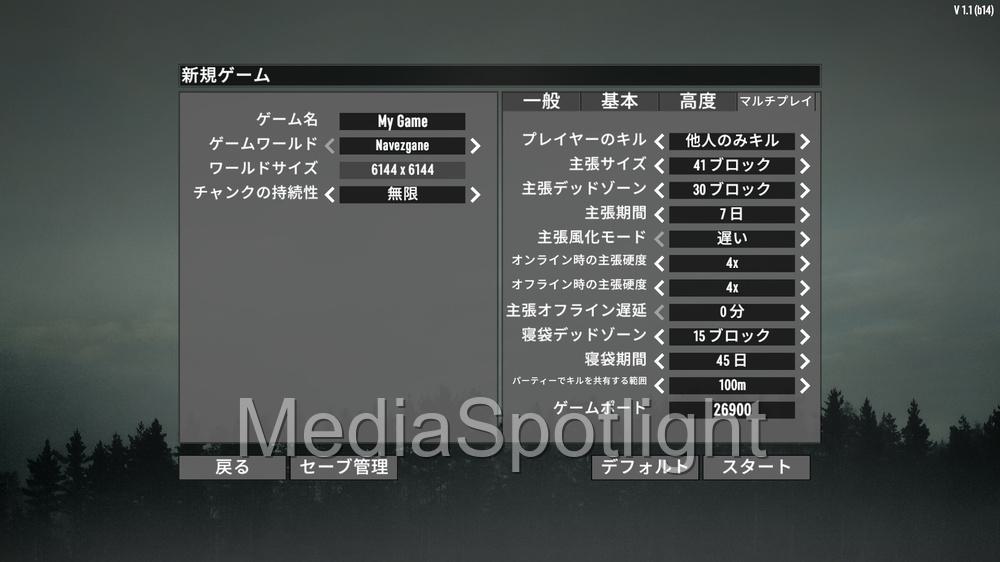
ゲームの設定画面で「マルチプレイ」タブをクリックします。
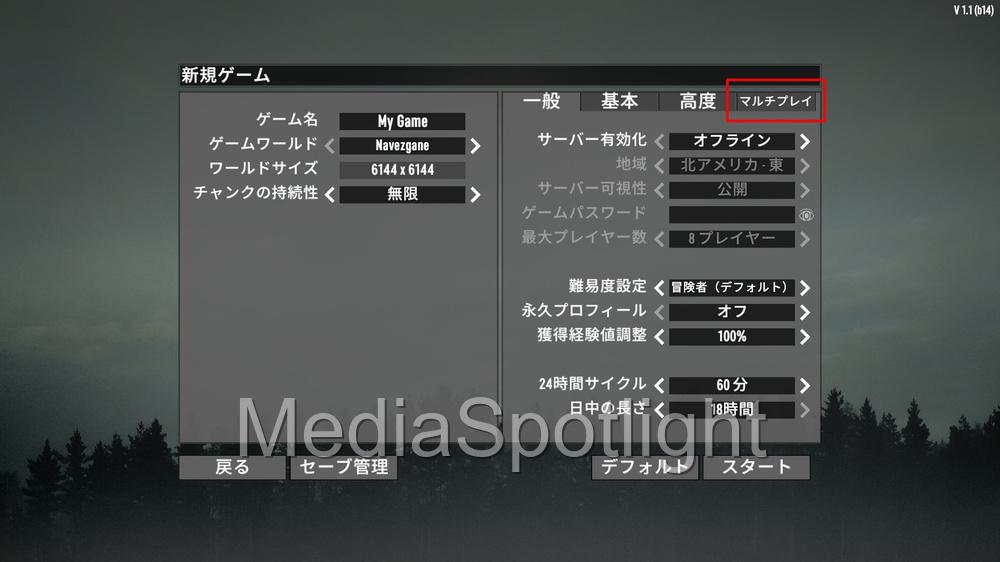
マルチプレイに関する設定項目が表示されますので、好みに合わせて設定してください。
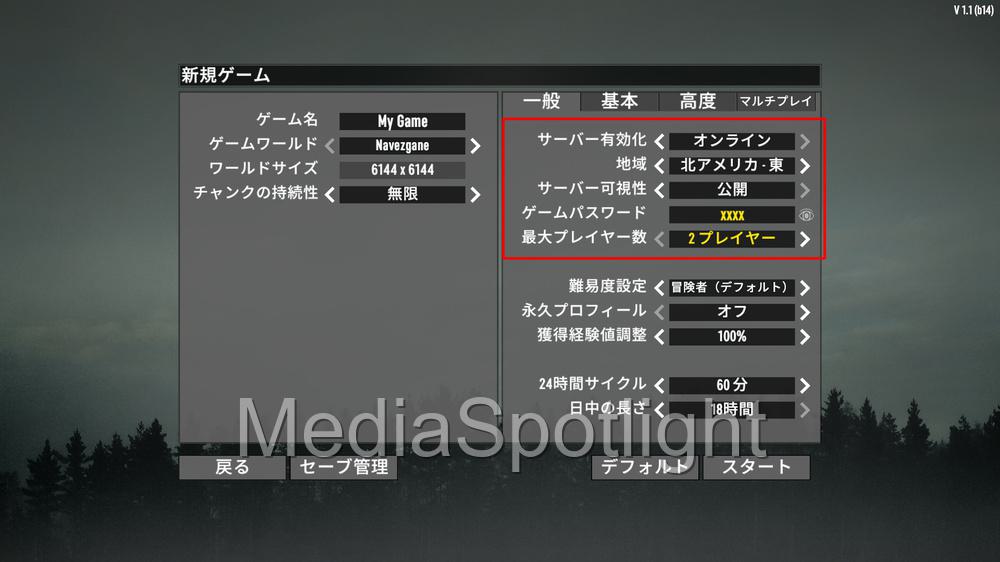
マルチプレイに関する設定が完了したら「一般」タブに移動し、赤枠の中の項目を設定します。
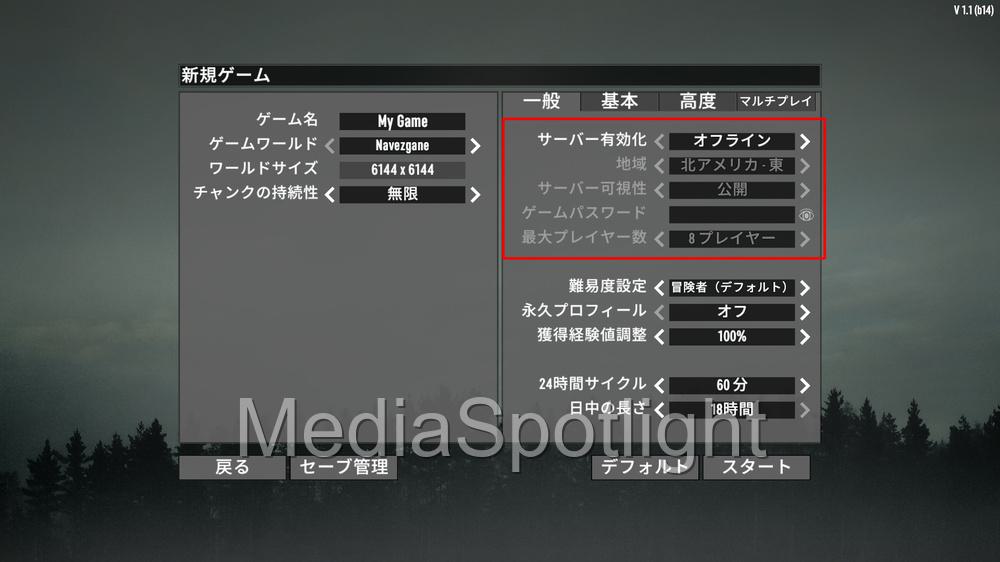
「ゲームパスワード」は必ず設定するようにしましょう。そしてこの「ゲームパスワード」を招待したいフレンドに伝えてください。
設定が完了したら画面右下の「スタート」をクリックします。
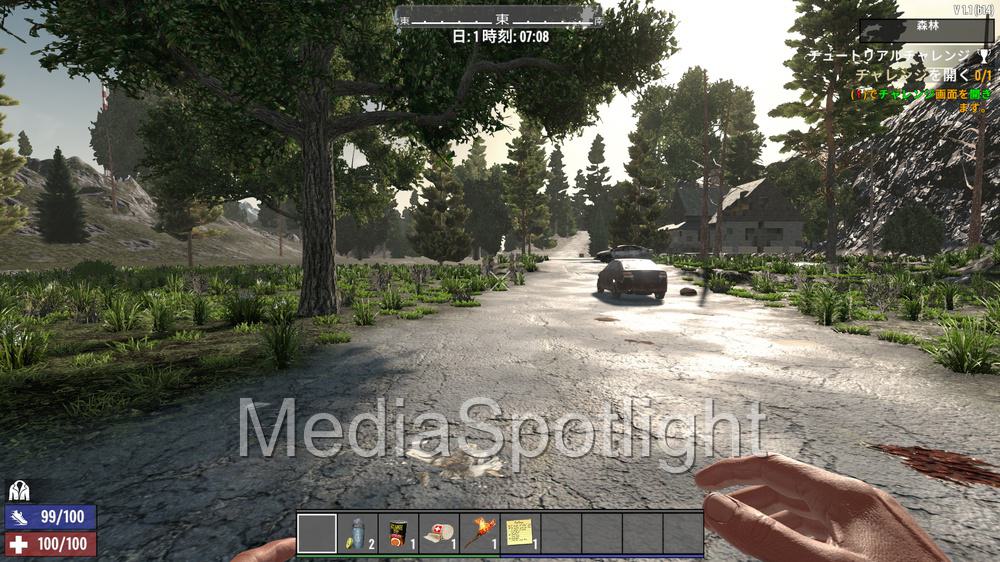
読み込みが完了し、ゲームにログインできたらフレンドを待ってください。
招待される側(フレンドのサーバーに入る側)の手順
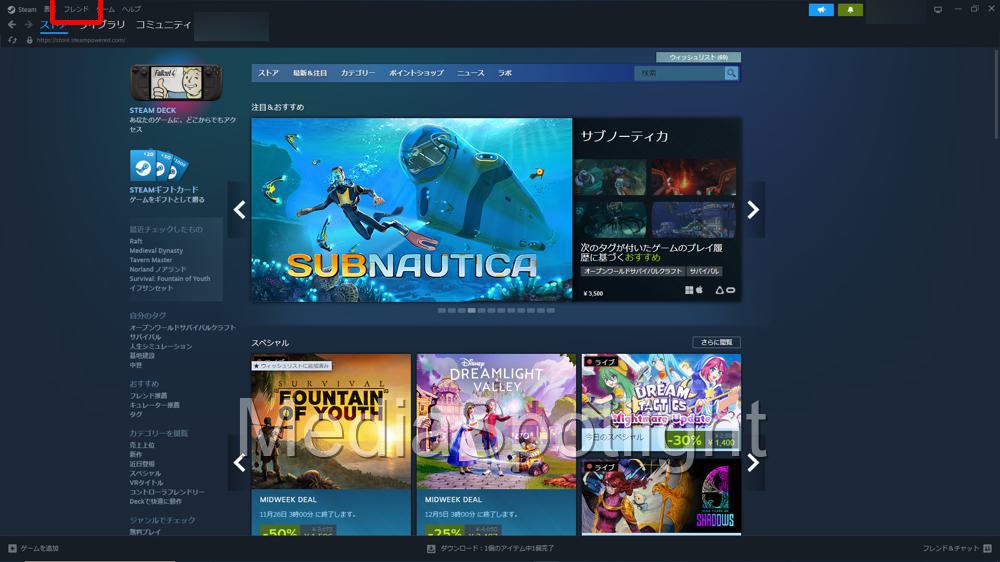
まずSteam画面を表示したら画面左上の「フレンド」をクリックします。
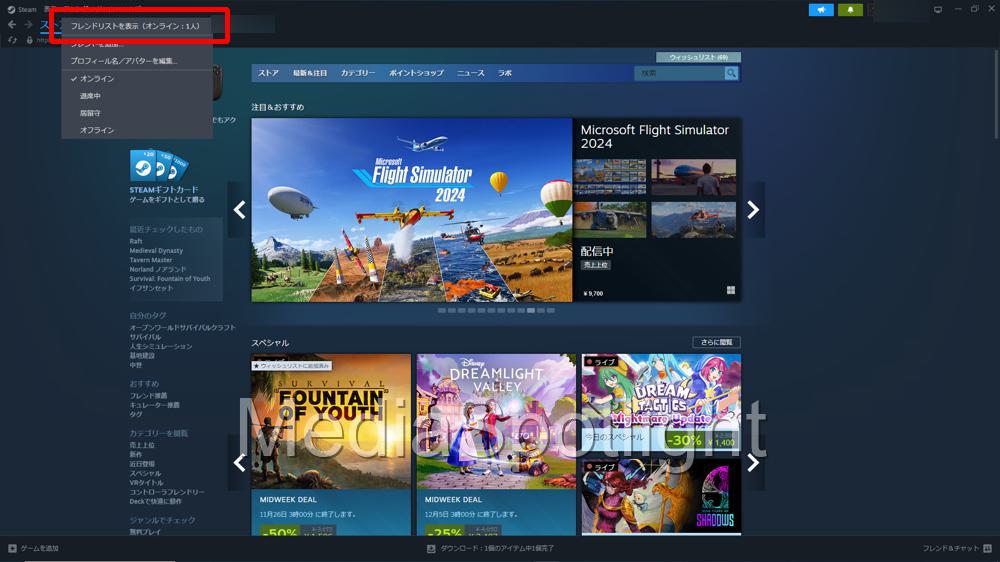
メニューから「フレンドリストを表示」をクリックします。
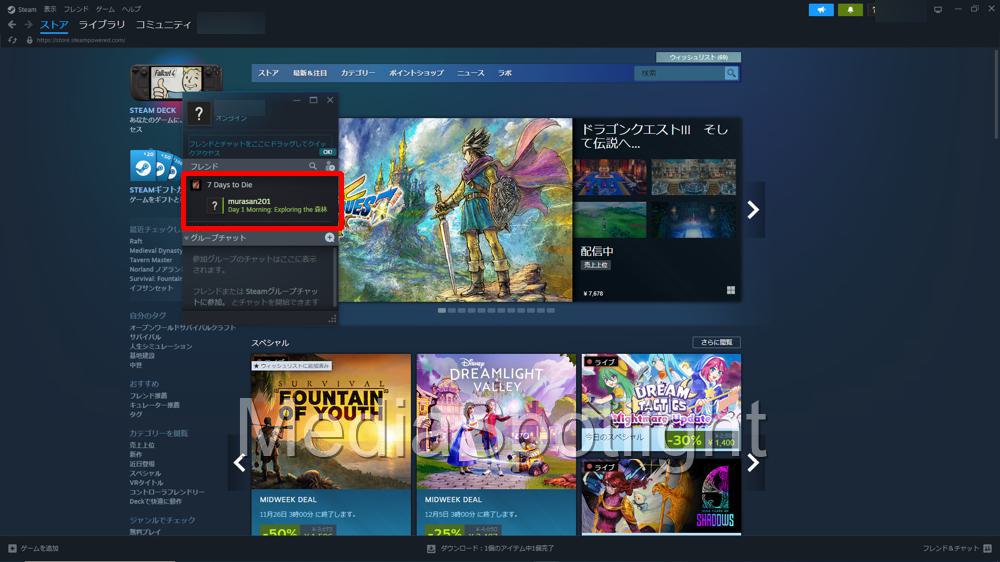
フレンドリストから、7Days to Dieを起動している招待者のフレンドの名前の右端部分をクリックします。
メニューから「ゲームに参加」をクリックします。
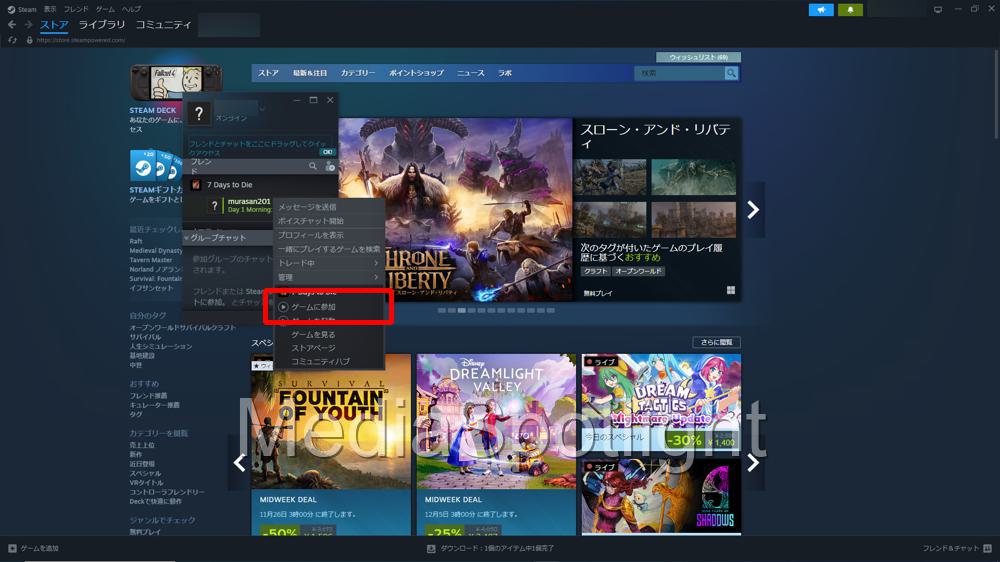
7Days to Dieが起動されます。

サーバーへの接続が始まるとパスワードを聞かれますので、招待する側のフレンドからもらったパスワードを入力してください。

正常にロードが完了すると以下の画面が表示されますので、「開始」をクリックします。

ゲーム画面が表示されたらログイン完了です。フレンドと合流してマルチプレイを楽しんでください。
まとめ
今回は人気オープンワールドゲーム7Days to Dieで、自分のPCをサーバーにしてマルチプレイをする方法について解説しました。
Steamのフレンド機能を使うことで費用を掛けずに手軽にマルチプレイを楽しむことができます。
しかし、本格的なマルチプレイを楽しみたい場合は、PCの性能や稼働時間(電気代)の問題もありますので、ゲーム向けのレンタルサーバーもおすすめです。
以下の記事でレンタルサーバーを使って7Days to Dieのマルチプレイ環境を構築する手順も解説していますので、是非参考にしてみてください。

それでは、また次の記事でお会いしましょう。


コメント